Cinema 4D has long been the industry standard for motion graphics, abstract 3D art, and product visualization. But when it comes to rendering, lighting is what truly separates an amateur render from a breathtaking, photorealistic masterpiece. While flat, even lighting has its place, professional lighting artists rely on a secret weapon to add depth, scale, and realism to their scenes: Gobos.
What is a Gobo?
The term "Gobo" originates from the film and theater industry, standing for "Go-Between" or "Goes Before Optics". It is essentially a physical stencil or template placed in front of a light source to control the shape of the emitted light. In the 3D world, a gobo is a black-and-white (or grayscale) texture applied to a light to project shadows and patterns into your scene.
Instead of modeling complex geometry—like a dense forest canopy, window blinds, or an abstract sci-fi grate—you can simply plug a high-resolution gobo texture into your light source. This saves massive amounts of polygon count and rendering time while delivering incredibly realistic results.

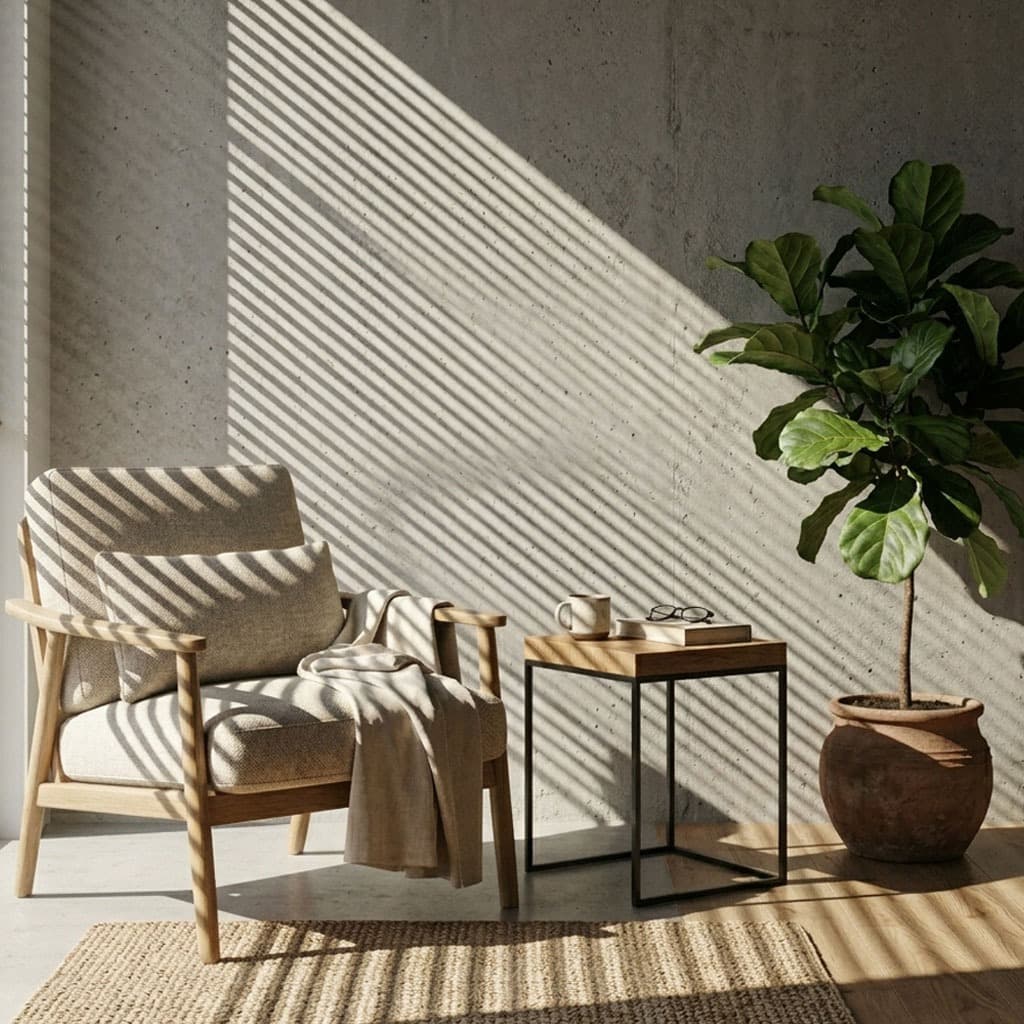
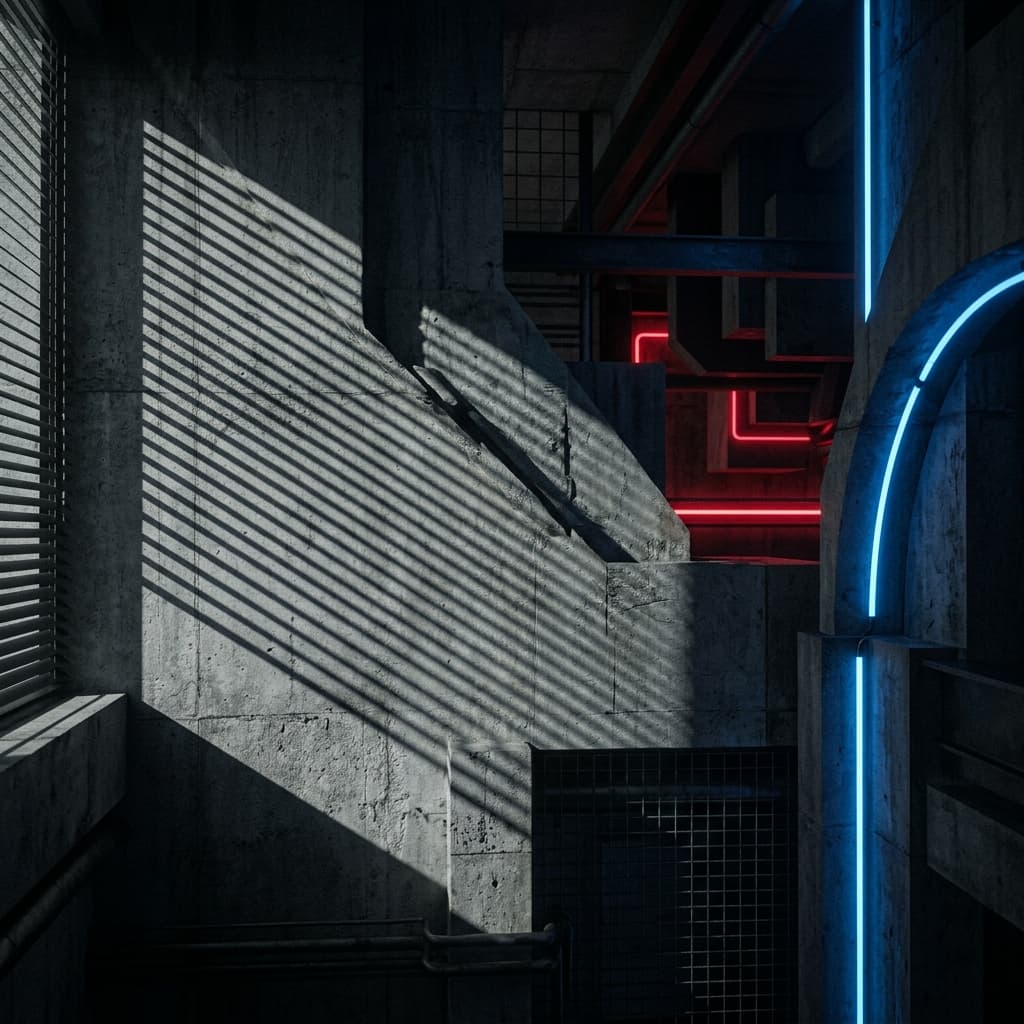
"Gobos are the difference between a scene that looks '3D' and a scene that looks like a photograph. The imperfections in the light break up the CG perfection."
Setting Up Gobos in Redshift for C4D
Redshift is currently one of the most popular GPU render engines for Cinema 4D. Setting up a gobo in Redshift is straightforward but requires a specific workflow to get the sharpest shadows.
- Create a Redshift Spot Light: Gobos work best with directional lights. An Area light can work if the spread is kept low, but a Spot Light is the most physically accurate way to project a sharp pattern.
- Attach a Texture: In the Redshift Light attributes, navigate to the Details tab. Look for the Texture input slot.
- Load Your Gobo: Download a high-resolution PNG from the GoboVault library and load it into this texture slot. Ensure the color space is set to Raw or Linear so the contrast ratios aren't clamped by sRGB curves.
- Adjust the Focus: To make the gobo pattern sharper or softer, adjust the distance of the light from your subject and the overall scale of the light emitter. A smaller emitter size will result in sharper shadows, while a larger emitter will create softer, more diffused shadows.
Octane Render Workflow
If you prefer the unbiased, spectral rendering of Octane, the gobo workflow is slightly different but equally powerful. Octane relies heavily on its node-based material system, even for lights.
Create an Octane Area Light and open the Node Editor. You will need to plug an Octane ImageTexture node into the Distribution slot of the light emission node. Load your GoboVault texture here. Octane is highly sensitive to gamma, so ensure your ImageTexture node is set to a gamma of 1.0 (Linear). You can also run the texture through an Octane Color Correction node if you want to push the contrast further or tint the light pattern.
Arnold for C4D (C4DtoA)
Arnold brings Hollywood-level raytracing to C4D. Arnold handles gobos using a dedicated light filter called gobo. Create an Arnold Spot Light, scroll down to the Filters section, and add a gobo filter. In the filter settings, plug your GoboVault texture into the Slide Map parameter. Arnold allows you to seamlessly animate the rotation and offset of the slide map, making it perfect for simulating a moving train, a driving car, or swaying trees.
Why GoboVault is the Ultimate Library for C4D Artists
While GoboVault offers a dedicated Blender add-on, the underlying asset library is completely software-agnostic. We provide over 360 meticulously crafted light textures in high-quality 2K native and upscaled 4K PNG formats. Whether you are rendering an architectural interior that needs realistic window casts, or a moody product shot that requires abstract, caustic lighting, GoboVault provides the highest-fidelity assets on the market.
Stop wasting time modeling window frames just to cast a shadow. Download the GoboVault library today and instantly elevate your Cinema 4D renders.